Pages

Showing posts with label Party Ideas. Show all posts

Saturday, April 20, 2013

Vintage High Chair

Better late than never! This post was in the works last July but I am now just getting in up! Yikes!

Last summer, we found an old highchair at a thrift store for $10. The bones were adorable but needed a lot of TLC!
The seat top had a huge crack in it and the top layer of wood was breaking away. We took some wood glue and squeezed it under the cracks. We weighted it down for a day or so before we sanded the entire chair. It's not a perfect fix, but it did what we needed it to do.

We took a few different types of sand paper to clean it up. Since I knew I was going to keep with the "warn" look, I didn't worry too much about sanding all the paint. 

I chose Krylon's Pistachio spray pant in satin. 

We picked up a small dowel at the craft store to replace the missing one. Once it was in place, the chair was quite sturdy! 


A few layers of paint, and.....


Finished Product for the little's BD:
We used a small green scarf to secure in the little one as she enjoyed her birthday cupcake :) 


Tuesday, November 1, 2011

Chicken Wing Cook Off!

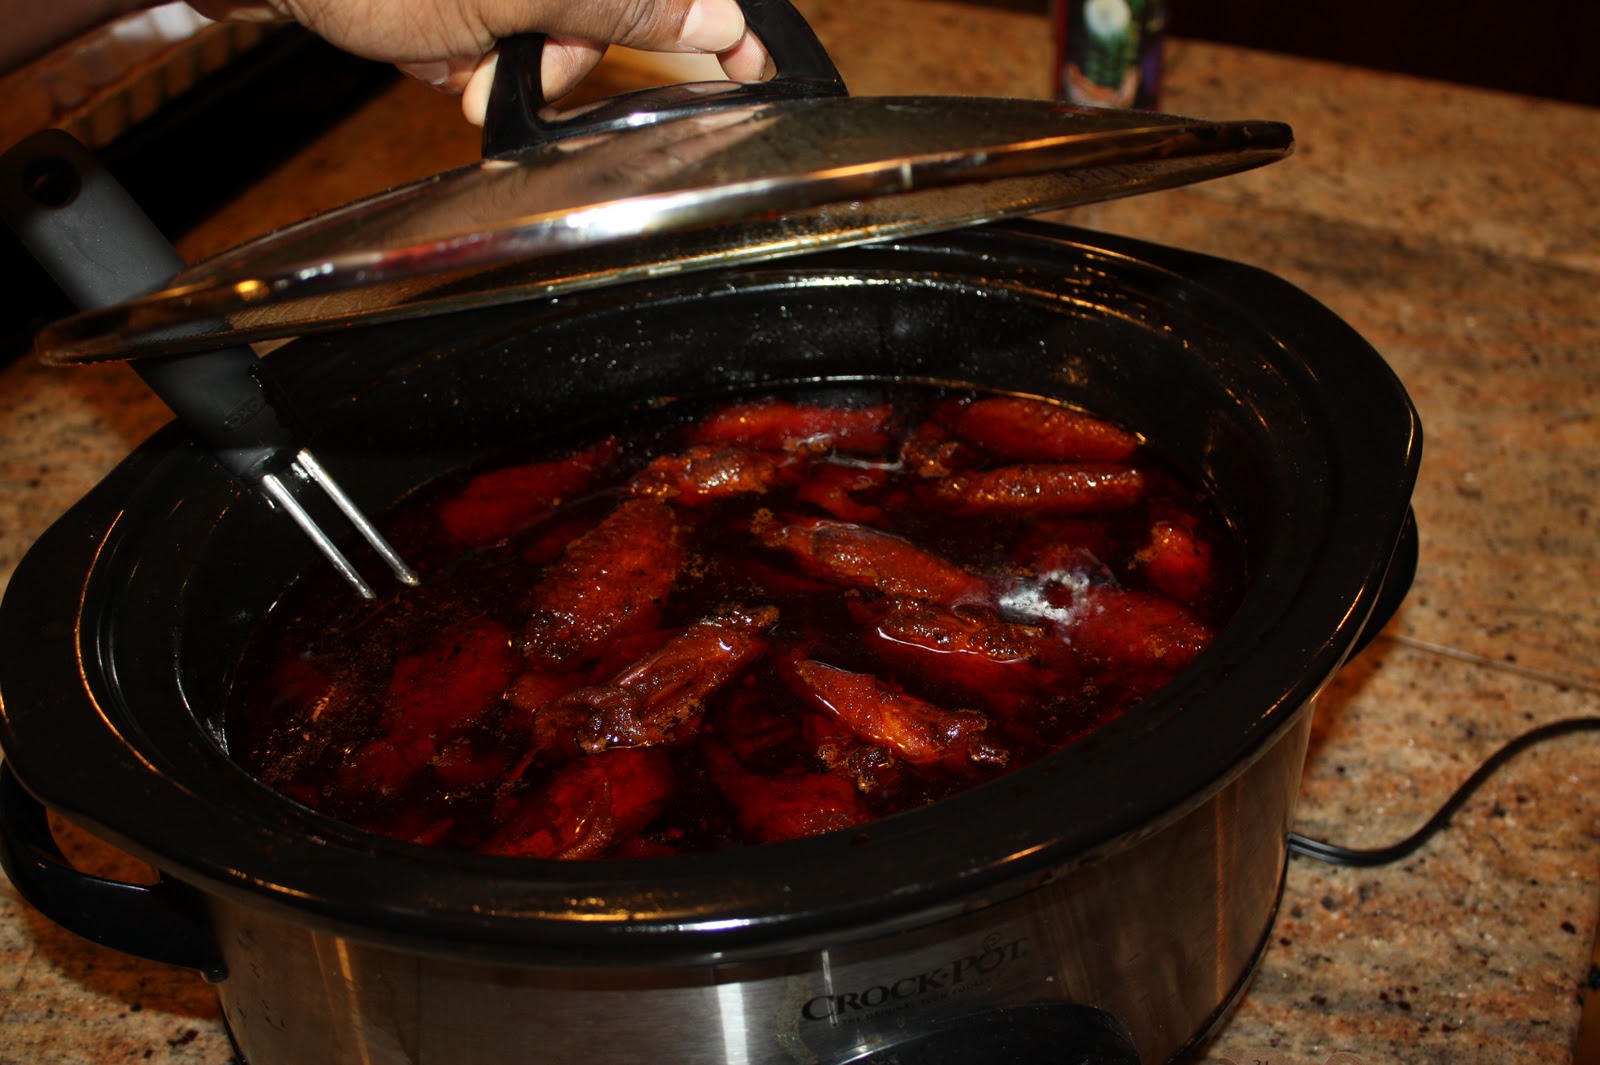
This past weekend, we celebrated my husbands birthday. It was our second annual "Chicken Wing Cook Off". It was such a hit last year that we had to go even BIGGER this year! More people, more chicken, more competition! 

Here is how it all went down...
Guests were asked to bring their "Prize Winning" wings (and their favorite beverage of course).

There were 3 categories:
Most Unique
Hottest
Most Phenomenal

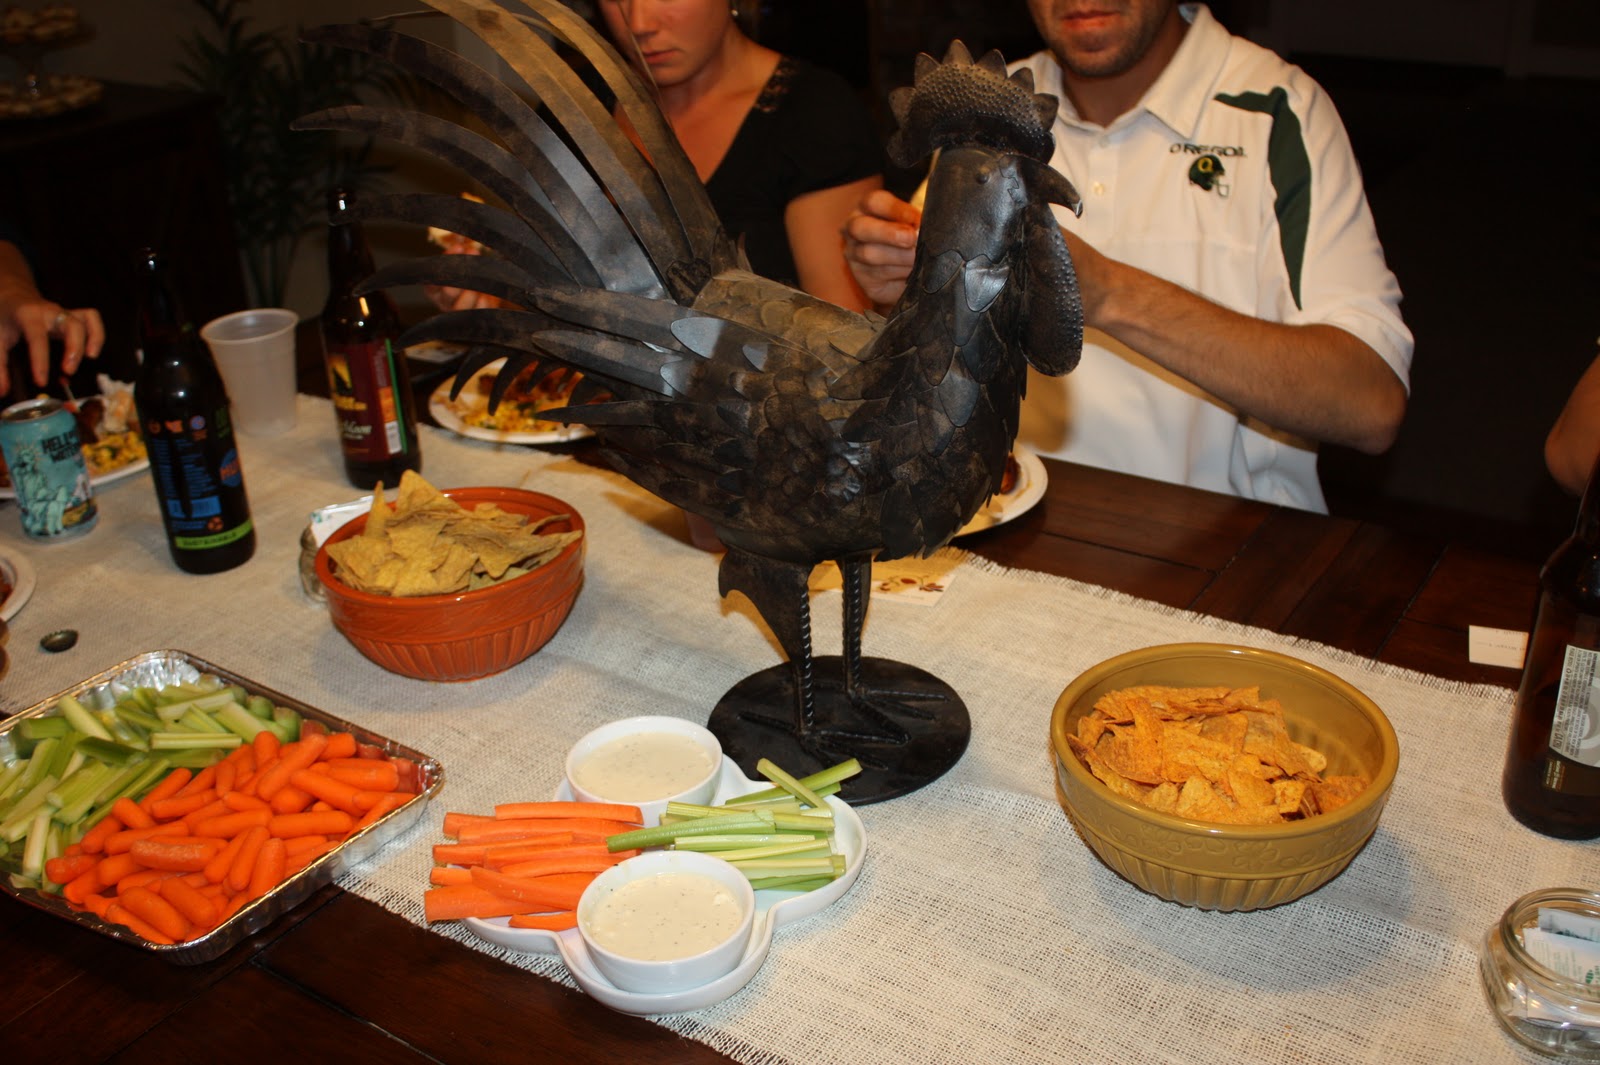
I provided the sides: rolls, this awesome coleslaw, this amazing corn salad, and plenty of carrots, celery and blue cheese dip!

Text messages were flying on the day of the competition. Everyone was claiming to have the prize winning wings. 

The house was decorated with numerous chickens that I had recruited from family and friends. Here are a few....


Every table had a jar full of wet-naps to help clean off their messy fingers.


As guest entered, I had a table that gave instructions. Guests were to choose a wing number, grab some numbered toothpicks, and fill out the name tag for their wings.


All of the wings were set out for the competition with their name tags and numbered toothpicks. 


The competition was on....


 Glenn, the reigning champion from the previous year wore the Golden Apron.


Toothpicks were used to mark which number each wing was (something we learned was necessary from the previous year)

The birthday boy enjoyed every second of the tasting.


The debates were heated!

Why did the chicken cross the road?.... to avoid this wing-off!

The votes were in
The tallies were counted
The award ceremony began....


The "MOST UNIQUE" went to the....... Chicken-Wing Dip


The "HOTTEST WINGS" was .......... a tie! (sorry, no pictures of these winners for some reason)

AND THE WINNER OF THE MOST PHENOMENAL WINGS WAS.............. 
The SWEET MENNOS!


 She is now a proud owner of a Chicken Wing Jump Drive, a pint of beer, and the Golden Apron!


Till next year.... 


Thursday, October 27, 2011

Salted Caramel Cupcakes

Salted Carmel Cupcakes
I don't bake. I try. But I don't do it often. So, you could imagine my shock when my husband asked for "Salted Caramel Cupcakes" for his birthday. It was a challenge and I was willing to take it! First off... there is no way that this non-baker was going to start from scratch (there are perfectly good box mixes in the store that are just waiting to be used).  Anyway... these cupcakes turned out AWESOME and I am so excited to share the how-to with you all!


I started with a basic cake mix. Why reinvent the wheel... (actually this helped limit the steps that I could possibly mess up). I added an extra egg because I read in some cooking blog that an extra egg makes them a bit more "cake" like. Sure.


I loaded all of the cake batter into a plastic bag and cut off a corner. This was very helpful in loading up all fo the cupcake tins! To store the bag of batter, I placed it in a bowl to hold the hole upright.


Once they cooled, it was time to get fancy. I filled a pastry bag full of caramel flavored topping. I "injected" it into each cupcake. For those of you that actually do bake, I am sure your are cringing at this step. I am sure there is a better way to fill a cupcake, but for someone who does not bake, my $1.99 pastry bag did the job!


Once they were all filled, I took to flavoring the frosting. I bought vanilla frosting, emptied it into my mixer, added some caramel sauce and mixed it up. It had a very mild carmel flavor but more importantly, I liked the color ;) (Or should the flavor be the more important part....??? Hm.)

I then took my nifty $1.99 pastry bag and filled it with frosting. I frosted all of the cupcakes, then placed a small piece of caramel on them (I cut the caramels into smaller pieces for the mini cupcakes), and put a pinch of sea salt on the top.


Wow. They were good.
Yep.  We will be making these again. :)