Pages

Showing posts with label House. Show all posts

Friday, March 2, 2012

Pallet Gun Cabinet


Eric (the hunter) has done it again! Using recycled pallets, he created his very own, custom gun cabinet! It is simply gorgeous. He was kind enough to share photos with me of the process and final product. We are not hunters at the Wilson house, but this is one gun cabinet that I would not mind having in my house!


Creative, custom, unique... love it! Thanks so much for sharing!

NOTE:  ***Before selecting your pallet, make sure that you are aware of how the pallet was treated in order to make sure it is safe for your house. All pallets should be marked with a code that lets you know how it has been treated.
-Heat treatment (HT) (SAFEST OPTION FOR USE IN YOUR HOME)-Methyl bromide fumigation (MB) -Chemical pressure impregnation (CPI)It is also very important to make sure that the pallet is free of insects. Make sure the wood is in good condition and does not splinter easy


Tuesday, October 25, 2011

Nice Legs!

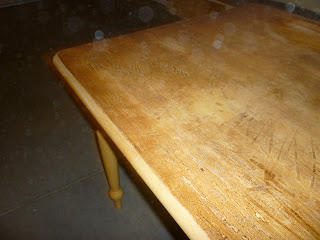
I bought this beeeeeeeauty off of Craigslist with this bench for $60 all because of it's amazing legs! I fell in love with "The Nester's" office over at The Nesting Place and have used her office as my inspiration for my own office/craft room. My husband thought I was crazy when I looked at the guy and said "we'll take it"!   The previous owners attempted to redo the table by sort-of sanding it down then putting a few layers of stain on it. In the end, it was a sticky mess! I simply loved the beveled legs!

Table Before:


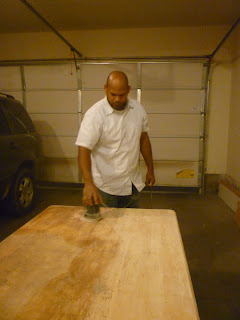
Nate helped me by sanding down the multiple layers of stain:

Then I sprayed a few layers of primer (I did it the lazy way and used a spray can):


After a few layers of white paint, my table was done!

The table was the final addition to our formal dining room converted into a usable den/craft space. 


All of my craft supplies are stored in the armoir (that I scored on craigslist for $0!). 


I brought down a desk from our guest room. This is where my husband works.


We love this room for many reasons...

1. Nate has extra space to spread out work if needed.
2. I can do crafts in there and leave them for a few days until they are complete (and not on my dining room table)
3. When we need an extra table, it can be converted back into a dining room table using the 2 chairs and the bench (which we did this past weekend for Nate's birthday party)!
4. Forget that formal living room that never got used! This room is used all the time!

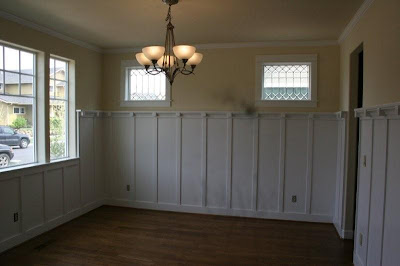
Oh and just for the fun of it.... here is the "before" photo of when we bought the house :) 


Tuesday, August 16, 2011

Marlo's Nursery

I finally found the time to take some photos of Marlo's nursery. We welcomed Marlo on July 22nd and have loved every second of our little peanut! While we were pregnant with Marlo, we decided not to find out the gender. Marlo was then known as "Baby W". We attempted to create a gender neutral nursery. The colors were gender neutrual but you could argue that the print of the curtains, rugs, and bedding was a bit feminie. If we had a boy, we decided that we were going to go the "Where The Wild Things Are" route or "Duck Pond" to add a little more masculinity into the room. We ended up having an adorable little girl so we have not made any changes to the decor. Marlo seems to enjoy it so far.

Nursery Before:
Stripes.....YIKES!

Nursery After: 
 I purchased an extra curtain and a friend of mine from work (Grace) made the bedding! It turned out perfect!

 See how I redid this frame here.
 I purchased the curtains at World Market and was lucky enough to find the perfect rug at Target!
 Check out how I made the "M" monogram here.
 Our sister-in-law picked up these wall decals from Sherwin Williams. They fit perfectly with our theme!
 I got my inspiration for this wall form this nursery that I found on HGTV's Rate My Space.
Check out how I made the pug silhouettes here.

Overall, we were very pleased with how the nursery all came together. It is a very calm and relaxing room. Check out and vote for our nursery on HGTV's Rate My Space!

Materials used in the nursery:
Curtains, bedding, changing pad cover: Tamara collection from World Market
Crib: Delta Biltmore Crib
Dressers: Amazon
Pain Colors: Grasshopper Wing and Studio Taupe (both Behr brands)
Black Shelves: Target
Rug: Target
Mirror: HomeGoods
Chair: Best Chairs in burlap from BabyPhases

Wednesday, July 20, 2011

New Obsession: Pallet Furniture

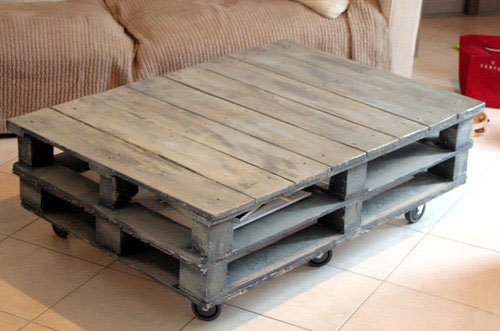
I have a new love... Pallet Furniture! I ran across a pallet coffee table during my endless search for a new coffee table. There are so many neat things out there that people have created using pallets! Here are a few of my favorites... 
(click on the photo to go the original link)

Pallet Coffee Table

Pallet coffee table
Pallet Coffee Table

Pallet Outdoor Couch

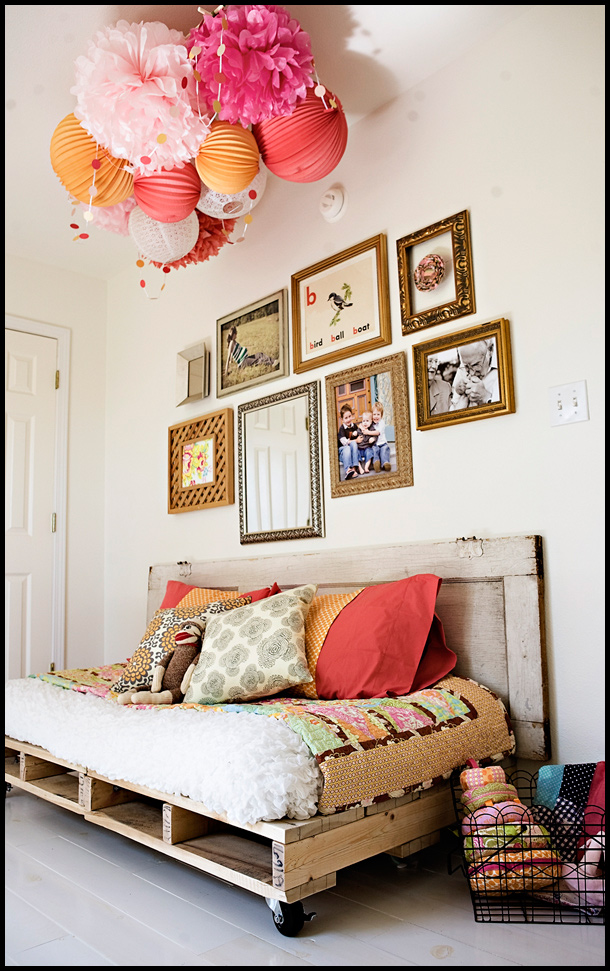
Pallet Daybed with a Door Headboard

The Original Pallet Shelf Tutorial
Pallet Wine Shelf

Pallet Shelves
Pallet Bookshelves

Pallet Coffee Table with Storage

Pallet Photo Display w/ Hooks

Pallet Children's Bed

I might be rethinking my round coffee table... a pallet coffee table might have to fill in the void for now!

Monday, July 18, 2011

Who knew vinyl tiles could make me so happy? :)

A few months ago we had a not-so-great surprise under our kitchen sink. Unknown to us, our garbage disposal had a huge crack in it and was leaking water for a long a time. I finally noticed what was going on when I went to pull out the cleaning bucket to reorganize it. The bottom of the bucket was wet and grimy. When I looked into the cabinet, I noticed some ugly water damage.  We replaced the garbage disposal but I have always been so bummed about the water damage left behind.
This is what we were left with (after it has been cleaned, bleached, and dried out for quite some time):


Yucky Water Damage

I saw a great idea on HGTV. I bought a few vinyl tiles at Home Depot and lined the bottom of the cabinet. They were easy to cut (score then snap apart) then firmly press to the cabinet. In the end, it not only hides the ugly water damage, but it also provides the cabinet with a waterproof lining (and it looks nice).

Peel and Stick Vinyl Tiles


20 minutes later....DONE!

In all, it was a $6 fix! Love it!

What water damage?!
I gave the extra tiles I bought to a friend. This was the photo she sent me from her phone! YAY! I am not the only one that loves these things :) 
Nice job, Amanda!